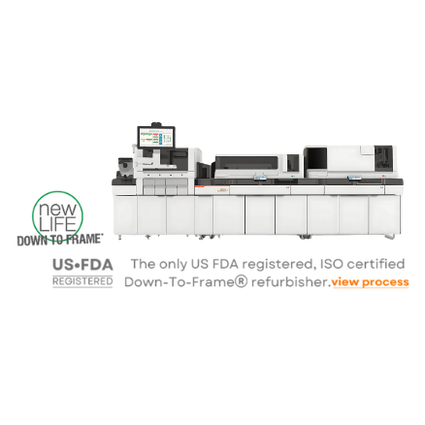
Siemens Atellica Sample Handler Installation Guide

What Should You Know Before Starting Installation?
You should understand the space, power, and connectivity needs of the Siemens Atellica sample handler before starting. It is important to know that this unit requires a stable laboratory environment with temperature and humidity control. You must ensure proper clearance around the equipment to support ventilation and maintenance access.
You also need to prepare your network settings and LIS (Laboratory Information System) configurations. The Siemens Atellica sample handler must communicate with connected analyzers and external software. For example, many labs pair this handler with systems like the Siemens Atellica CH 930 to enable seamless sample routing and chemistry testing.
How Can You Set Up the Physical Components?
The installation team should unbox and position the unit carefully. You must level the system using the provided adjustable feet to avoid calibration errors. Once it is stable, connect the sample racks, sensors, and communication cables. The handler includes input and output lanes, which you should align with existing workflow paths.
You should connect the system to a dedicated power source. Use surge protection to avoid voltage-related issues. Once you complete the physical assembly, the Siemens technician will verify system stability and begin software configuration.
How Do You Connect It to the Atellica CH 930?
You can connect the sample handler to the Atellica CH 930 chemistry analyzer using the Siemens-specified middleware or a LIS interface. It is important to align both systems in the same network domain. The technician will configure the handler to route samples based on test codes and priority.
This connection allows shared access to sample ID, test orders, and real-time sample tracking. When integrated correctly, the handler routes tubes directly to the Atellica CH 930, avoiding manual transfers and improving workflow speed.
To learn more about this chemistry system, visit Atellica CH 930 product overview.
What Software Configuration Steps Are Required?
After hardware setup, the next step involves software calibration and workflow programming. You must verify the barcode scanner functionality and tube recognition settings. You should map the sample types to specific racks or lanes. This enables the system to recognize serum, plasma, or urine samples automatically.
The Siemens Atellica software allows detailed routing rules. You can assign STAT samples to priority lanes or block specific tubes from moving to non-compatible analyzers. The configuration should also include fail-safes to flag rejected samples or alert users of missing IDs.
How Do You Test System Readiness?
You should run a dry test without live samples to check sensor accuracy, barcode reading, and movement precision. The handler should identify rack positions, transport tubes correctly, and route samples based on pre-defined logic. It is essential to confirm communication between the handler, LIS, and connected analyzers such as the Atellica CH 930.
After initial testing, you should begin live trials with non-critical samples. This helps detect calibration issues, barcode mismatches, or system lag before going fully live. The Siemens team typically provides on-site support during this phase.
What Are the Common Installation Challenges?
You may encounter issues related to network firewalls or LIS incompatibility. You should involve your IT team during the installation to configure IP settings and open necessary ports. Hardware challenges include misaligned racks or jammed transport lanes. Proper leveling and cable routing can prevent these problems.
Incompatibility with older LIS systems may affect data flow. You can resolve this by using Siemens middleware to bridge communication gaps. Also, you must train your lab staff on emergency stops and alert handling.
Why Should You Integrate with Siemens Atellica CH 930?
The Siemens Atellica CH 930 is a high-performance clinical chemistry analyzer. When integrated with the Atellica sample handler, it forms a complete testing line. You save time, reduce staff fatigue, and increase test result reliability.
Labs using both systems report:
- Up to 40% faster turnaround time
- Fewer manual transfer errors
- Improved sample traceability
- Greater uptime due to automated error detection
You should use this integration if your lab handles medium to high daily sample volumes. It allows continuous loading, fast rerouting, and better prioritization for critical tests.
What Final Steps Should You Take?
After installation, ensure all staff members are trained. Siemens provides user manuals, video tutorials, and on-site guidance. You should schedule routine maintenance every three to six months. Periodic software updates ensure compatibility with newer test modules and LIS versions.
You should also document your installation steps, network settings, and routing logic. This will help you during audits or future troubleshooting.
Conclusion
The Siemens Atellica sample handler streamlines your lab’s workflow when installed and configured properly. When paired with systems like the Atellica CH 930, you gain a fully automated testing setup that improves speed, accuracy, and sample traceability. You can rely on Siemens-certified technicians to ensure a smooth setup and long-term system reliability. Always verify your environment, staff training, and LIS integration to ensure sustainable lab performance.
